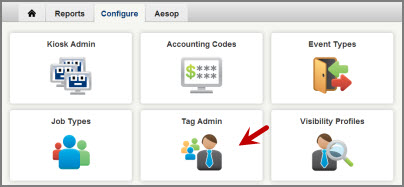
In VeriTime you may need to create very specific groups of employees that a user can have visibility or approve for. You can do this by using the Tag Admin function. To access this click Tag Admin under the Configure tab on your VeriTime home page.
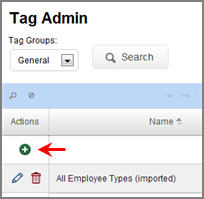
To create a new tag group click the + icon in the Actions column.
This will open up a window where you can create your tag group. First name the group and give it a description. Your name and description may be the same thing.

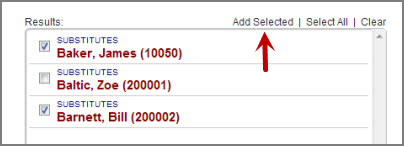
Once you have named the group you can select the individual users to add to the group. Use the search box to find the employees you want to add to the list.
Note: If a user's name has a
strikethrough on it that means that the user has already been
assigned.
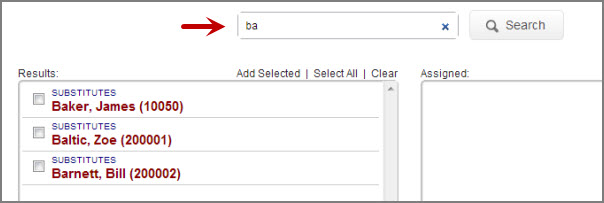
Once you have your list of employees you can Select All or mark the ones you want to add and click Add Selected. This will add the selected people to the Assigned box.
Once you have everyone you want in the Assigned box, click the Save button to save your tag group.

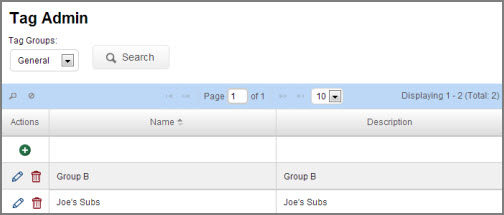
The group will be added to the list of available tags you can add to a visibility profile.