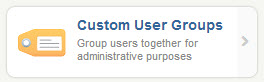
In VeriTime you may need to create very specific groups of Users that an Admin can have visibility to approve for. You can do this by using the Custom User Groups function. To access this click the Custom User Groups option in the People Management section of the Configure tab.
Creating or Editing a Custom User Group
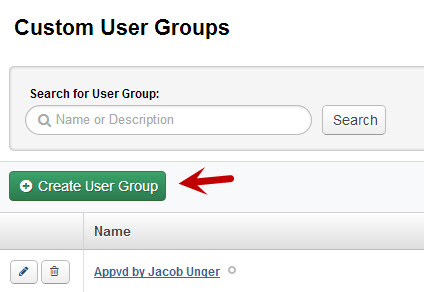
To create a new Custom User Group click the green “Create User Group” button. You can also edit an existing group by clicking the edit button (pencil) next to the group name.
To delete a group click the delete (trash can) button.
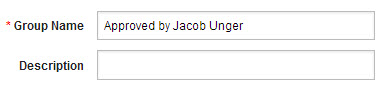
This will open up a window where you can create your group. First name the group. You can also give the group a description, but this field is not required.
Once you have named the group you can select the individual users to add to the group. Use the search box to find the Users you want to add to the list.
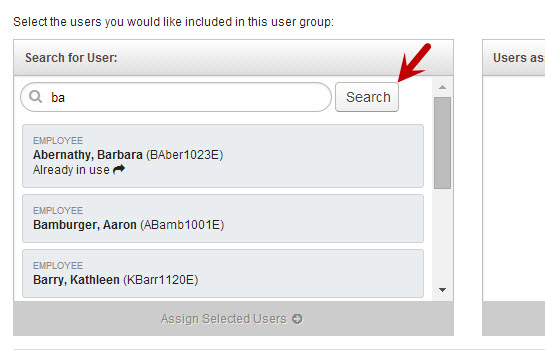
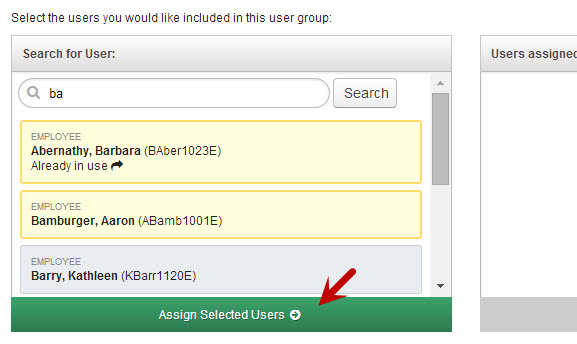
Click on the names you want to select. When you have selected a name the box around the name will turn yellow.
Once you have selected the name or names you want to add click the green Assign Selected Users button. This will add the selected people to the Assigned box.
Once you have everyone you want in the Assigned box, click the Create User Group button to save your group.
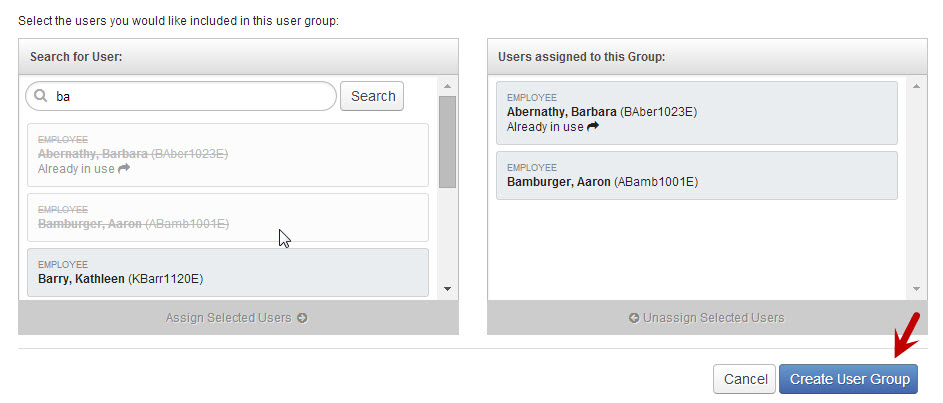
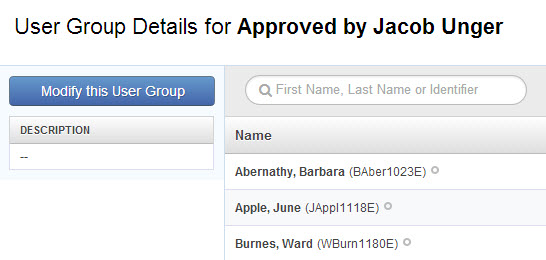
After clicking Create User Group you will be taken to the User Group Details page so you can review the details of the Custom User Group you created or edited.