|

Itinerant Employees
If you are an employee that works at multiple buildings within your district the absence creation process will look a little bit different for you. Aesop will take you through a 4 step process to help you create your absence.
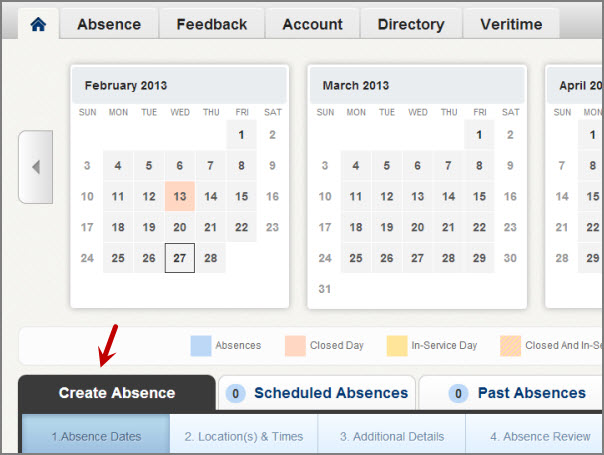
To start the process click the Create Absence tab on your home page.
Step 1 - Absence Dates
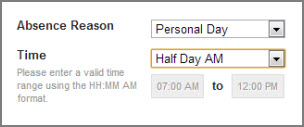
In the first step you will select the date or the date range of the absence. You will also select the Absence Reason. You may also have to select if a substitute is needed or not if your district requires that.
To select a date just click it in the calendar and it will turn blue. You can click multiple dates if needed.

To move on to the next step click the Set Location(s) and Time button at the bottom of the page.
Note: If you miss filling information that is required you will see a red warning message like this.

Step 2 - Locations(s) & Times
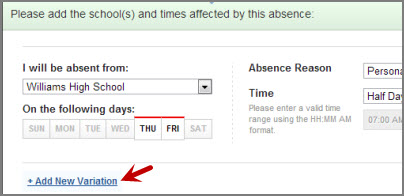
On this next step you will first select which of your schools you will be absent from. If you are going to be absent from more than one school you will be able to select that. For now just pick the first school you will be absent from.
You will also see the day of the week highlighted. If you will be absent more than one day you will see multiple days highlighted. To create your absence for the same times across all days, leave them all highlighted. If your times will be different on different days, deselect the days that will be different by clicking on them. You will be able to add them in a later step.
In this step you will also be able to edit your absence reason. You will want to select whatever absence reason applies to the School and days you just selected. If you are going to be absent from one school for the first half of the day and a different school for the second half of the day, you will only have to select the one school's times here. You will add the next school and its times later.
Variations
Now that you have entered the info for the first part of your absence you can add a Variation. A Variation is a tool that will allow you to enter any number of data combinations to make the absence fit your schedule. To add a variation click the Add New Variation button in the bottom left.
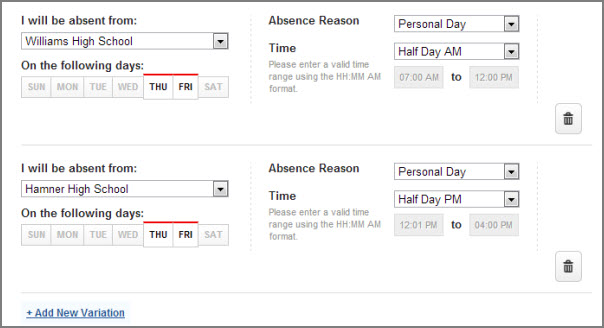
Here are a few examples of how you can use Variations.
Absent from one school in the AM and a different school in the PM for he same absence reason. Same schedule on both days of the absence.
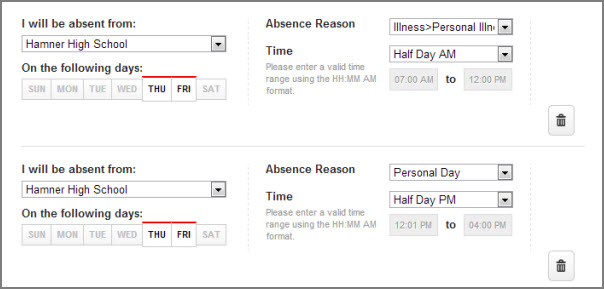
Absent from the same school all day but using different absence reasons for each half of the day.
Absent from two different schools with a different schedule on Thursday than Friday.
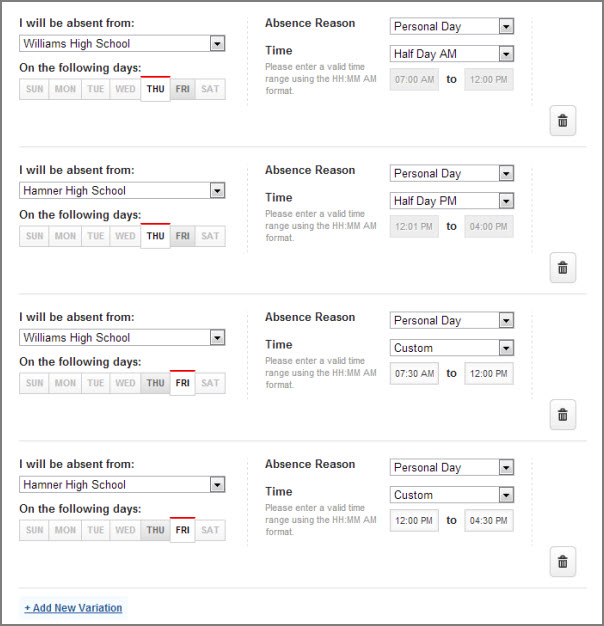
As you can see, there are limitless combinations you can create with the Variations that will allow you to create an absence that fits your schedule.
Note: You can delete a Variation
at any time by clicking the trash can button next to that variation. 
When you have finished entering the absence information, click the Add Additional Details button.
Step 3 - Additional Details
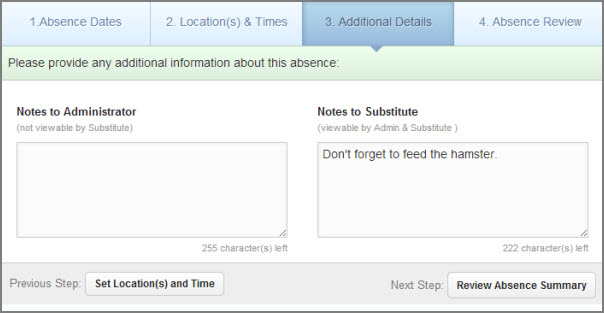
In this step you will be able to add notes to the absence.
Notes to Administrator - These notes will be visible to the administrator(s) at the school(s) but not visible to the substitute.
Notes to Substitute - These notes will be visible to the substitute as well as the administrator(s).
When you have finished entering the notes click the Review Absence Summary button to move to the last step.
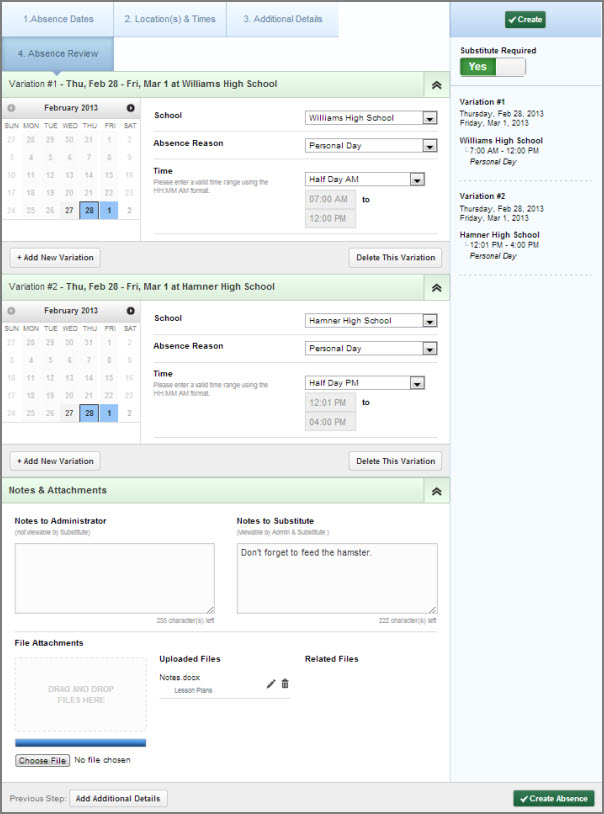
Step 4 - Absence Review
In this last step you will see a summary of all of the data in your absence. From here you can make changes to or delete Variations. You can also add brand new Variations at this step.
This is also the place where you can attach files to the absence.
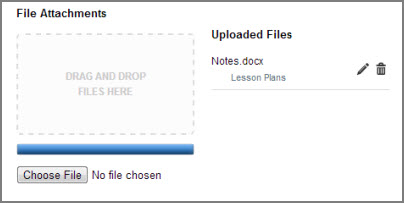
Once you are satisfied with the data as you have entered it, click one of the Create buttons (found in the top right and bottom right corners) to save your absence.