Before starting to set up a User, there are a couple requirements that must be satisfied first.
- In order for a User to be set up in VeriTime, that User must first be set up in Aesop. When setting up the User in Aesop, verify that the User’s Start, Break, and End Times match their VeriTime schedule. The Hours per Day will also need to be set correctly if you are using VeriTime’s Comp Time feature or if you allow custom length absences in Aesop.
- If you are using the Wage Options feature, the Wage Option(s) that you plan to assign to the User must be created first
- Any Position(s) to which you want the user associated must already be created using Position Admin under the “Configure” tab.
- The User Template (set of permissions) to which you want the User associated must already be created using the User Profile option under the “Configure” tab.
There are three ways to access a User to set them up in VeriTime.
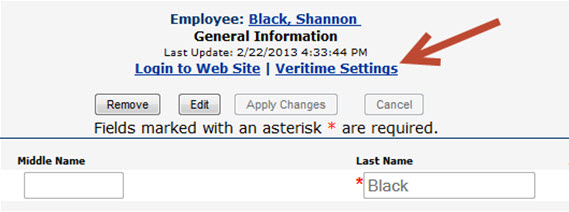
The first is through the VeriTime Settings link on the User’s Aesop “General Information” page which will take you directly to the User Settings page.
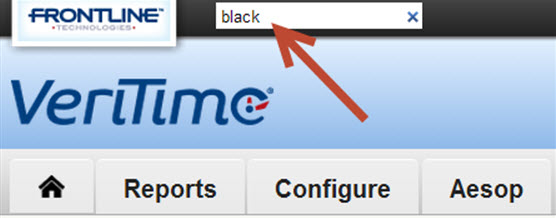
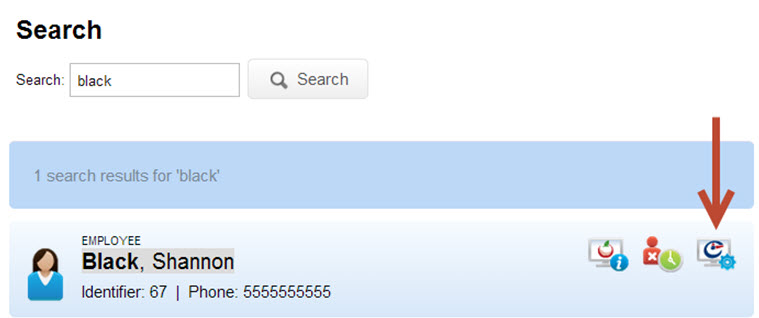
The second method is to look for the User by first or last name via VeriTime “Search.”
Then click on the VeriTime Settings icon to the right of the user’s name.
The third way is through the Users link on the “Configure” page in VeriTime.
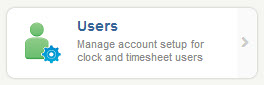
Once on the Users page, you can then search for the specific user.

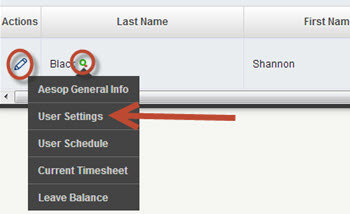
From here you can edit the User’s settings by either clicking on the pencil icon OR by clicking on the “Quick Links” icon and then clicking on the User Settings option.
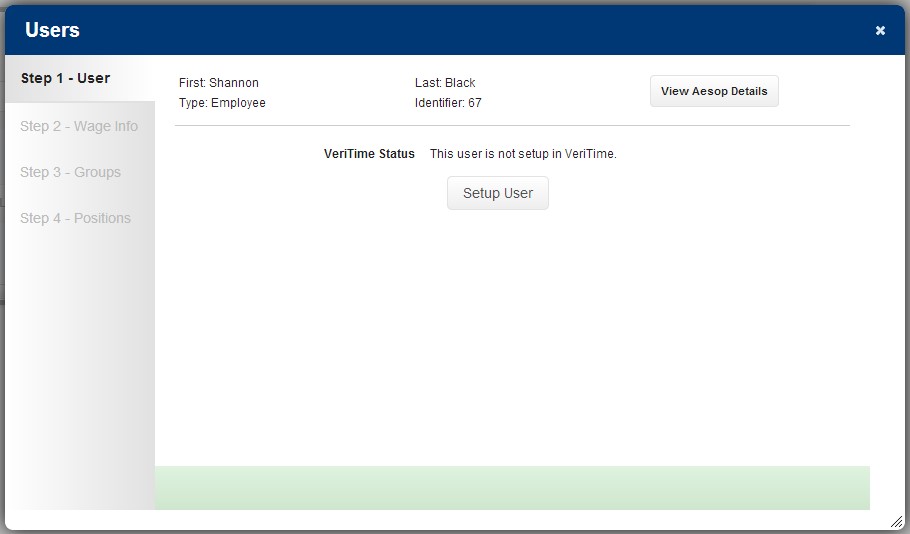
Step 1 – User
You can begin to activate and setup the User by clicking on the Setup User link in the middle of the page.
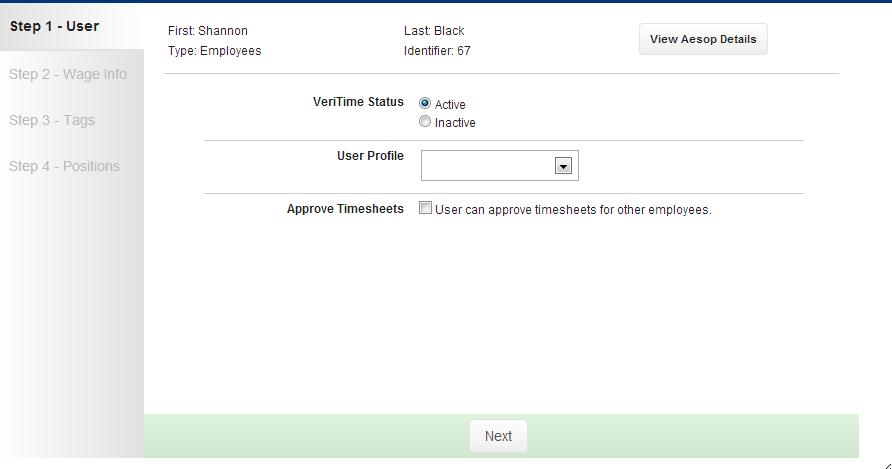
This is where you will activate/inactivate the employee in VeriTime and add a User Template to the User (built in the User Templates widget under the “Configure” tab). If the employee will not be approving any other employee’s timesheets, leave the “Approve Timesheets” box unchecked and click “Next.”
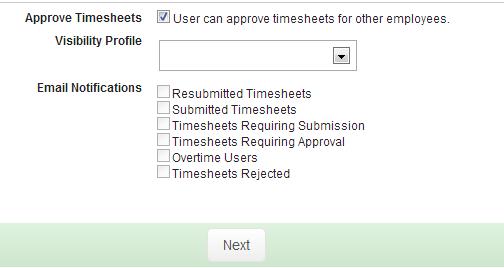
Approve Timesheets
This option will allow the User to approve other User’s timesheets without a Campus User or Organization User account. The Visibility Profile (built in the Visibility Profiles widget under the “Configure” tab) filters the employees whose timesheets this approver will need to see and approve. You can also specify what additional emails this approver will receive.
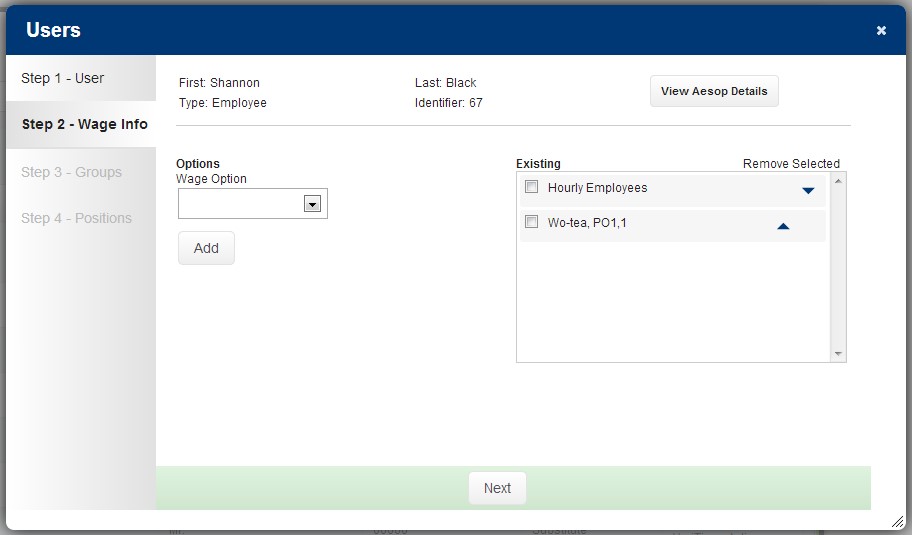
Step 2 – Wage Info
This is where you can assign Wage Options to this specific User. ***This step only applies if you are using VeriTime’s Wage Option feature. If you are not using the Wage Option feature, click “Next” and proceed to Step 3***
To add a Wage Option choose it from the drop-down list and click the Add button. This will put the Wage Option into the Existing column.
Once Wage Options are in the Existing column they can be sorted by priority by using the blue up and down arrows. Sorting Wage Options is only required by certain payroll companies and may not be necessary or enabled for your organization.
Remove a Wage Option by checking the box next to it and then clicking the Remove Selected text.
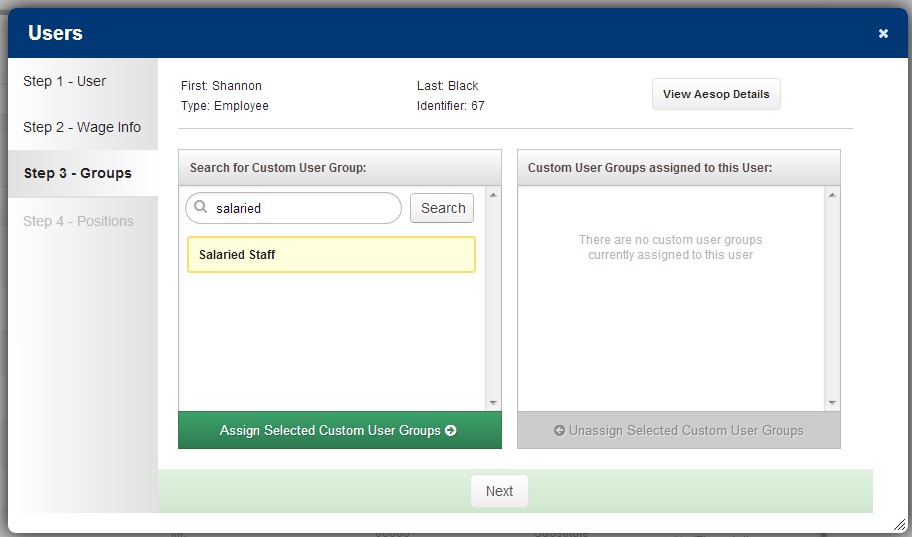
Step 3 – Groups
If your organization utilizes Custom User Groups, this is where you assign them to the User. If your organization does not use Custom User Groups, ignore this step and click next. Search for any groups you want to apply to this User, then click on the group to highlight it. Once a group is highlighted, press “Assign Selected” to apply it to the User. Use the same process to unassign groups on the right that are already assigned to the User.
Step 4 – Positions
This is where you assign the User to their position(s).
In this step you can assign a position or positions to the User. Use the search box to search for the position you are looking for.
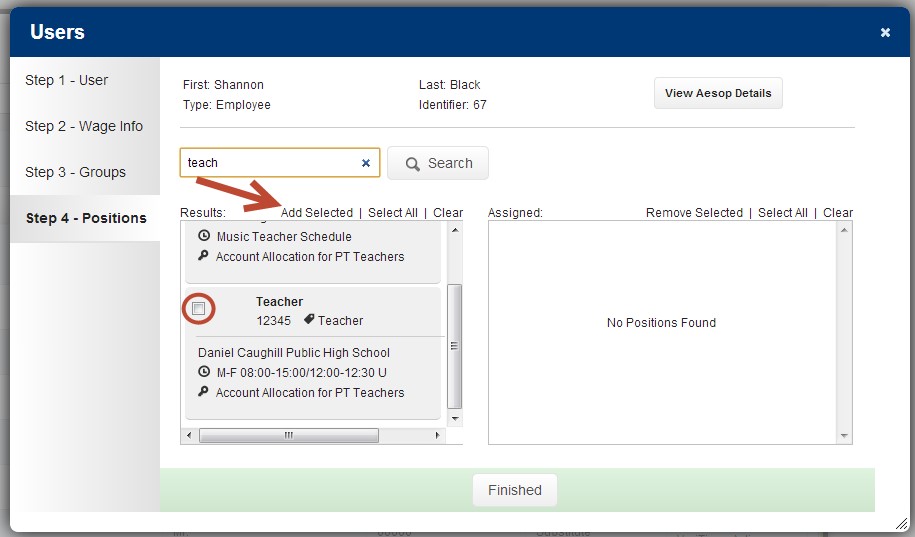
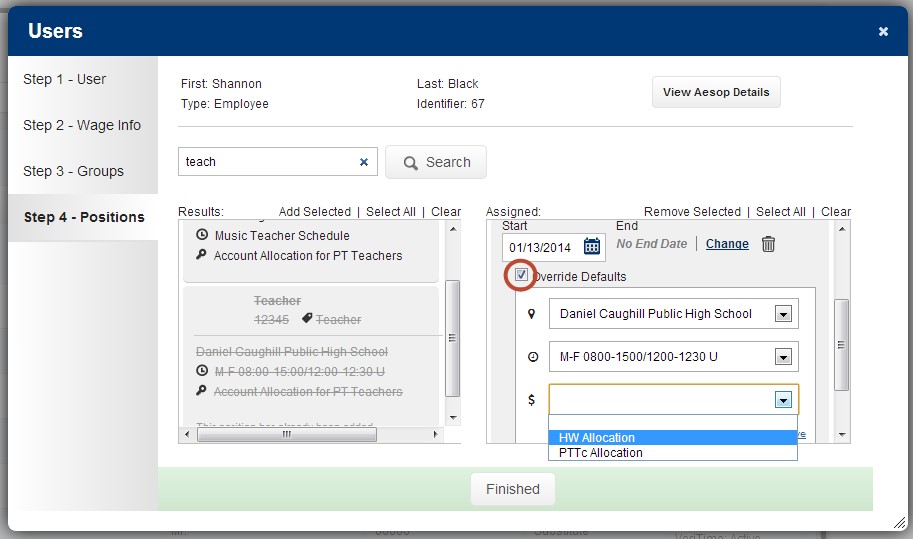
Mark the position you want to assign with a check and then click the Add Selected option. You can then alter the User’s start and end date on that position if desired. If you would like the User to have a different Location, Schedule, or Account Allocation than the Position’s default settings, check the “Override Defaults” box. Underneath the “Override Defaults” box, three drop boxes will appear. The first allows you to select what Location the User will work. The second allows you to select what Schedule the User will work. The Third allows you to select what Account Allocation will be tied to the User’s unique position setup.
Note: your district may not utilize Account Allocations, and the option may not appear at all.
Repeat this process if the User should be associated to more Positions.
Once you have assigned the User to all appropriate Positions, click “Finished”.
