The Master Calendar is a collection of physical events that apply to district wide, but also affect individual Users’ schedules and how employees might get paid. The Master Calendar is a tool that allows an administrator to apply these events to a group of employees based on location and/or Job Type.
To access the Master Calendar page click that option under the Home or Configure tab.
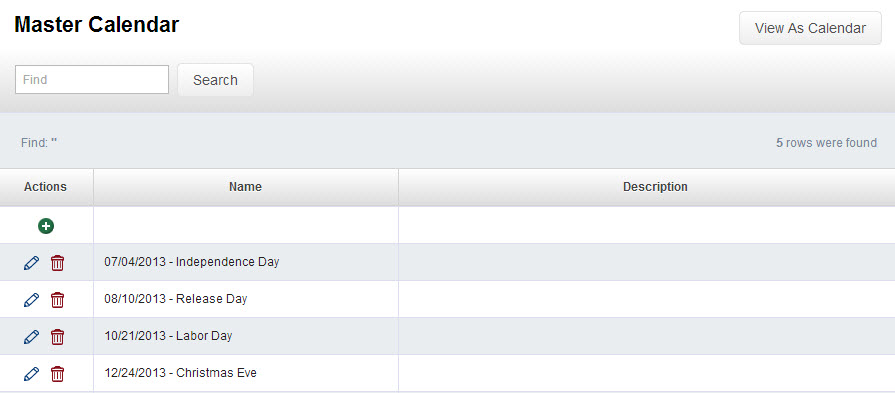
Adding, Editing, and Removing Events from the Master Calendar
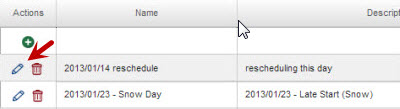
To add a new Master Calendar Event (MCE) click the green “+” icon at the top of the list. To edit an existing one, click the pencil icon. To delete one click the trash can icon.
Step One: Name and Type
When creating a new MCE, the first step is to name the event and choose what type of event it is. If certain employees earn different rates for working on certain types of events, that is established in the Staff Group.
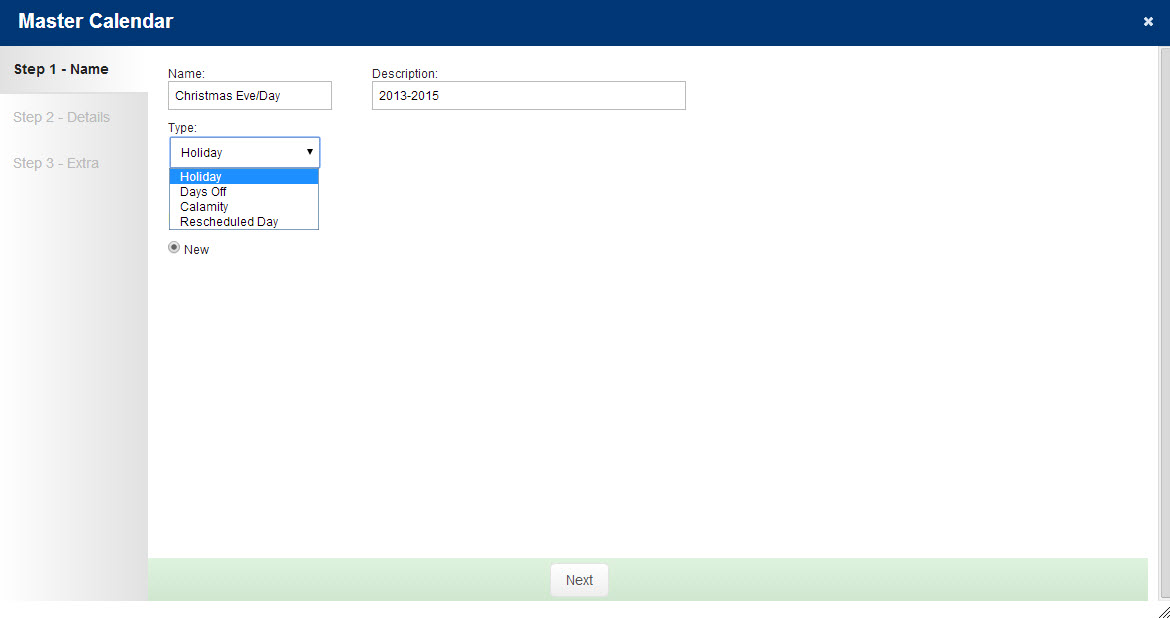
Click the Next button to move to the next step.
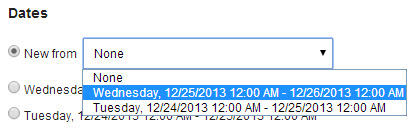
If you want to copy the settings from a previously created event to a different date range (e.g. you want to copy Christmas 2013 and add a second date range for Christmas 2014), select “New from” and select the date you want to copy from the drop down menu on Step 1. Then click Next.
Step Two: Add Details
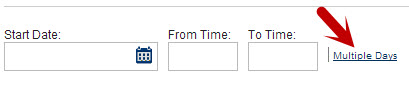
On the details page you will add the date and time duration of the event. If the event is an all day event, enter the From/To time as 12:00 AM to 12:00 AM so that it lays over all of everyone’s schedule for that day. Each User will only be credited the amount of time he/she is scheduled for.

If you want this MCE to be applied to multiple days, click the “Multiple Days” link next to the time boxes.
Options
You can create a Master Calendar event and apply it to multiple combinations of Locations and Job Types for both Paid and Unpaid time in one transaction. You can also choose to apply a Master Calendar event to particular Users.
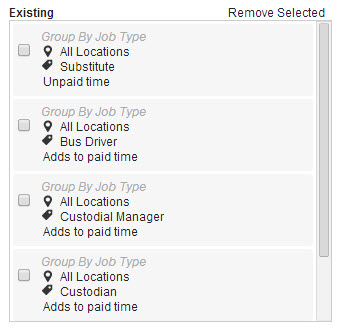
Once you have selected the combination of options you want click the Add button to add that group to the Existing column. Groups in this column are who this Event will apply to.
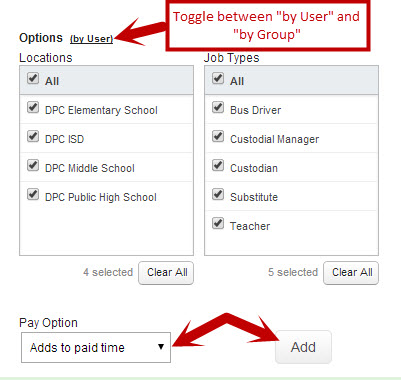
Once you click the Add button you will see the options you selected in the Existing column. Multiple option groups can be added to this column.
When you have finished adding options click the Next button to move on.
You will only interact with Step 3 – Extra if you are creating a Rescheduled Day. If you are not creating a Rescheduled Day, just click Final to save the Master Calendar event.
Once you have saved an event you can always go back to it in the listing and add more days or edit the options. Click the pencil icon to edit an existing event.
View Calendar Events in the Calendar View
On the main list of Master Calendar Events, click the “View As Calendar” button to view the Master Calendar in a calendar format.

