Any employee or substitute who is on Aesop may be a VeriTime User. They login with their Aesop ID and PIN and access their VeriTime features through that portal and/or through the web clock.
All of your VeriTime User settings can be accessed through the Users page. To access this page click the Users option under the Configure tab.
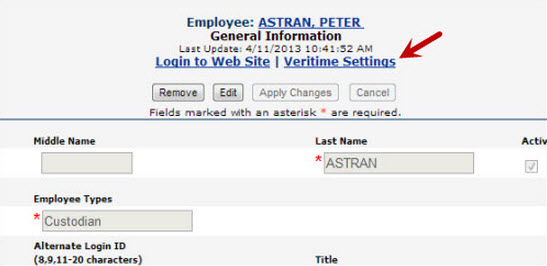
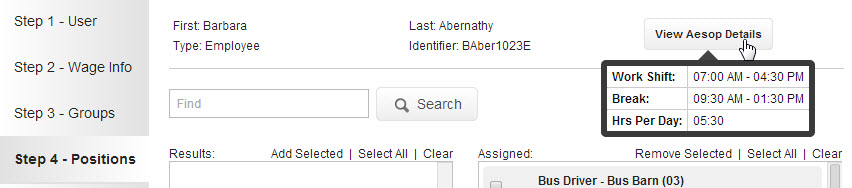
You can also access a User’s settings by clicking the VeriTime Settings link on the User’s Aesop General Information page.
Edit a User’s Settings
You can search for a specific User by typing data into the search box found at the top of the page. You can search by first or last name or by Identifier. You can even search using partial data.
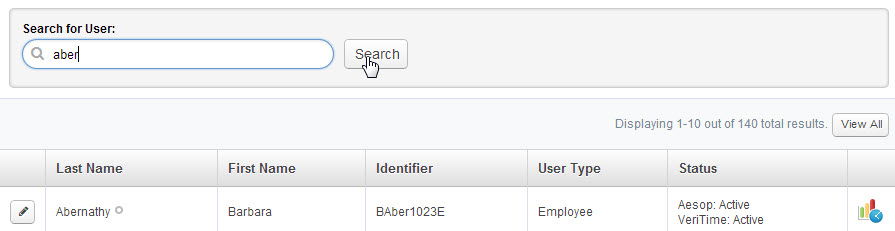
To edit a User’s settings click the pencil icon in front of their name. This will open the window where you can change any of their settings across two steps.

Step 1 – User
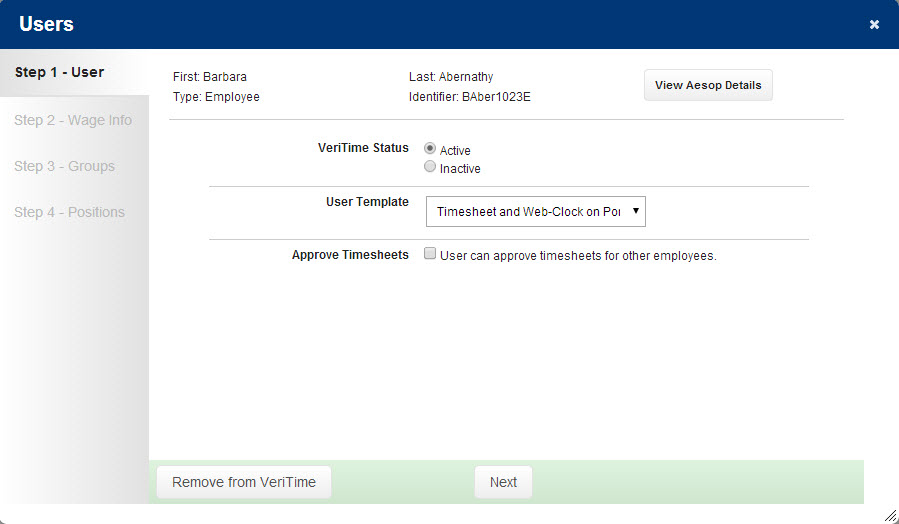
VeriTime Status – At the top of this page you will be able to mark the User as active or inactive. If a user is inactive time clocks and timesheets will not be generated for the user. The user will also not be able to access any VeriTime features.
User Template - Choose which User Template should be assigned to this User.
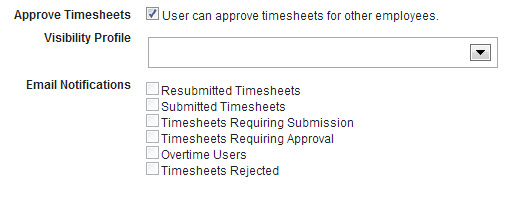
Approve Timesheets – If you check this box more options will appear. Here you will choose which Visibility Profile you want to assign to the User and what Email Notifications you want them to receive.
Step 2 – Wage Info
Here is where you can assign Wage Options to this specific user.
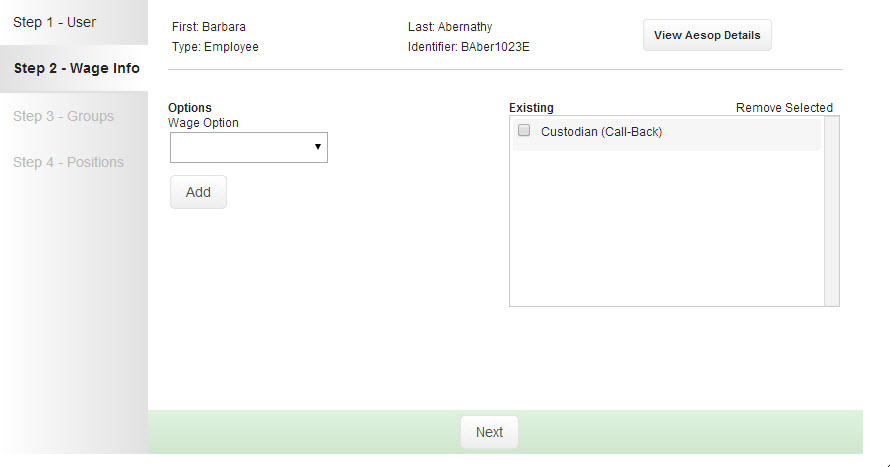
To add a Wage Option choose it from the drop-down list and click the Add button. This will put the Wage Option into the Existing column.
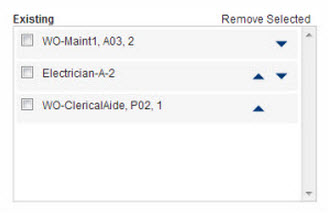
Once Wage Options are in the Existing column they can be set in priority order by using the blue up and down arrows.
Remove a Wage Option by checking the box next to it and then clicking the Remove Selected text.
Click the Next button to move on to the next step.
Step 3 – Groups
This step allows you to search for a Tag and assign it to a User. Simply enter a search term in the search box and click the Search button. This will bring up a list of all the matching Groups. Click the appropriate Custom User Group name to select the Group (you can select more than one if needed). Next click the Assign Customer User Groups button to assign them to the User.
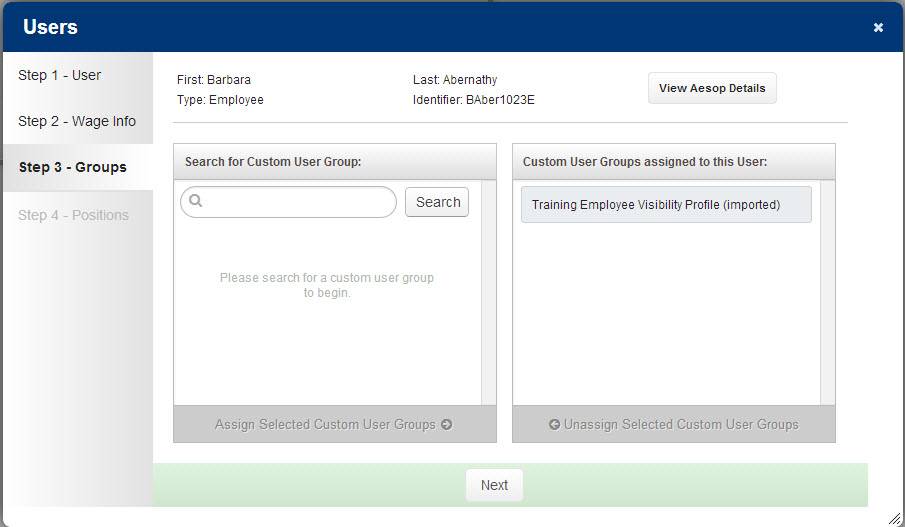
You can also remove a Group from a User by selecting it in the Custom User Groups Assigned to this User column and then clicking the Unassign Selected Customer User Groups button.
When you have finished making your changes click the Next button to move to the next step.
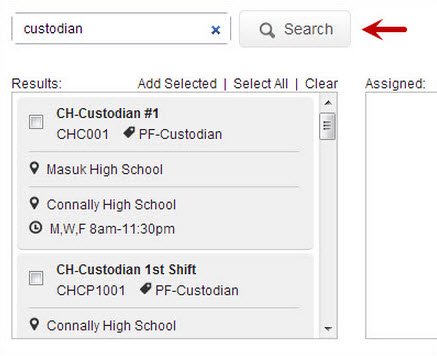
Step 4 – Positions
In this step you can assign a position or positions to the user. Use the search box to search for the position you are looking for.
Mark the position you want to assign with a check and then click the Add Selected option.
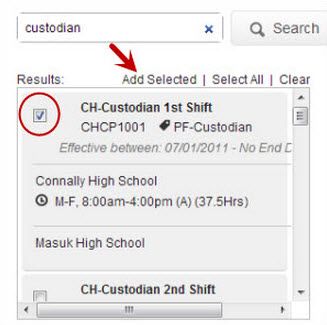
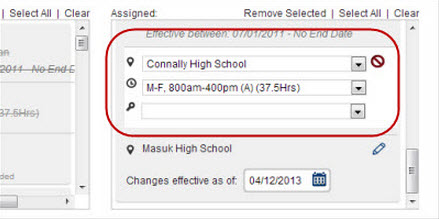
This will move the position to the Assigned column. Once in the Assigned column you can change the effective dates for the position. To change an effective date click the Change option. To delete effective dates click the trash can icon. To add new effective dates click the Add New Effective Dates option.
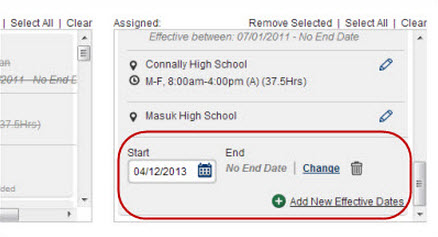
You can also change the location, job, and accounting code by clicking the pencil icon associated to that information.
You can continue to add more positions as necessary by repeating the above steps.
When finished click the Finished button to save the settings for the user.
