Over time, some employees and substitutes will no longer work at your district. Here’s how you can make them inactive without losing their past records.
Step 1: Deactivate the User in Aesop
To deactivate a VeriTime user, you should first determine if the user will also be deactivated for Aesop as well. If the user will be left Active in Aesop, skip this step and proceed to Step 2. If the user should be deactivated for Aesop, go to the user’s “General Information” page in Aesop by clicking the Find Employee or Find Substitute.

Search for the user by last name. If the last name you enter is not shared by any other employee or substitute, you will automatically be taken to their Aesop profile. If not, you will get a list of user’s that match the last name. Click on the user’s name to be taken to their “General Information” page in Aesop.
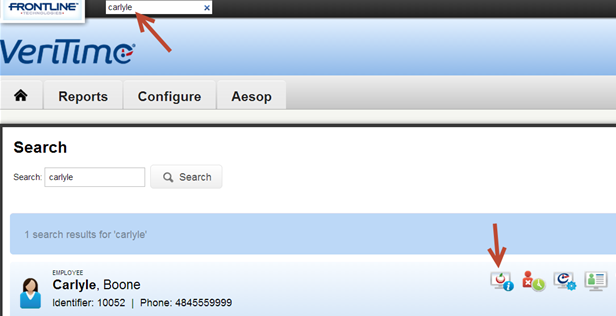
If you start from VeriTime, you can look up the user using VeriTime’s Search function and then clicking the first icon for that employee in the search results.
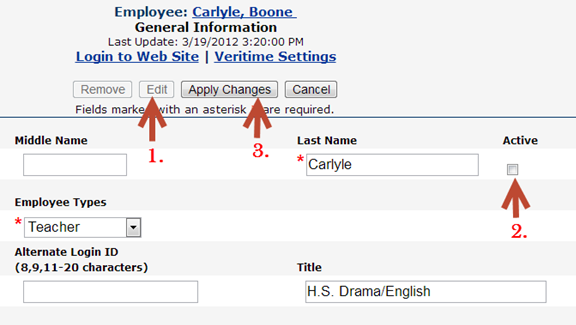
You will then arrive at the “General Information” page.

Click edit, uncheck the “Active” checkbox, then click Apply Changes.
This effectively deactivates the user in Aesop and Veritime, but there are more steps you should take.
Step 2: Deactivate the User in VeriTime
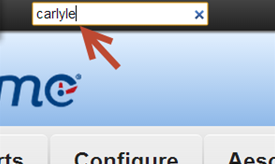
To deactivate the user in VeriTime, go to Search in VeriTime and search for the user you need to deactivate.
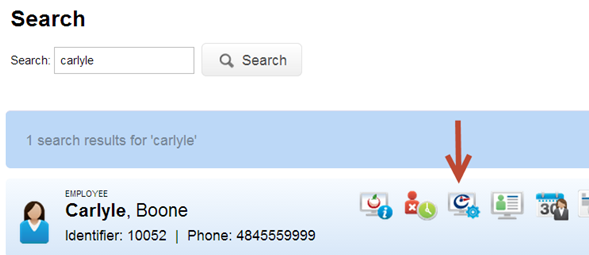
Once you see the search results, find the user record that needs to be deactivated and click on the VeriTime Settings icon for that user.
The user’s settings will appear. Among the options, you will see the VeriTime Status is marked “Active”. Click the radio button next to “Inactive”.
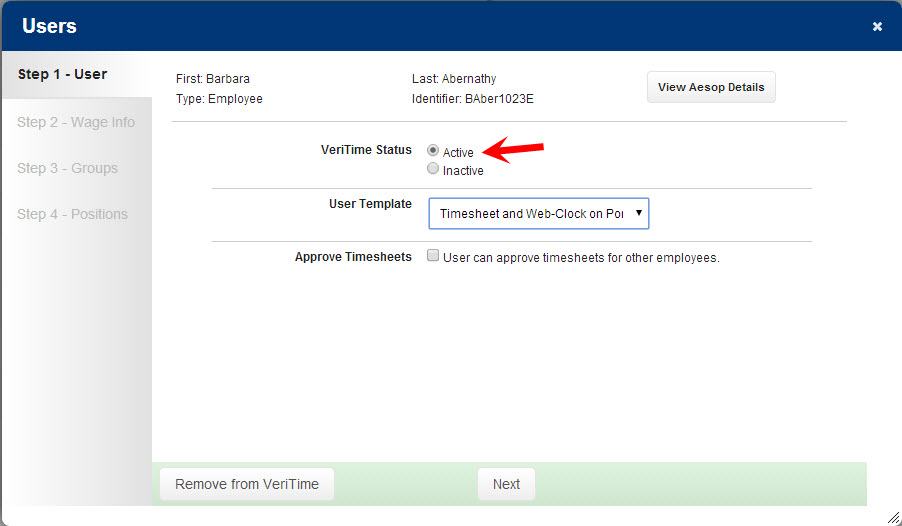
Click Next at the bottom of this window.
On “Step 2″ of the “Users wizard” (Wage Options), ignore this page and click Next again.
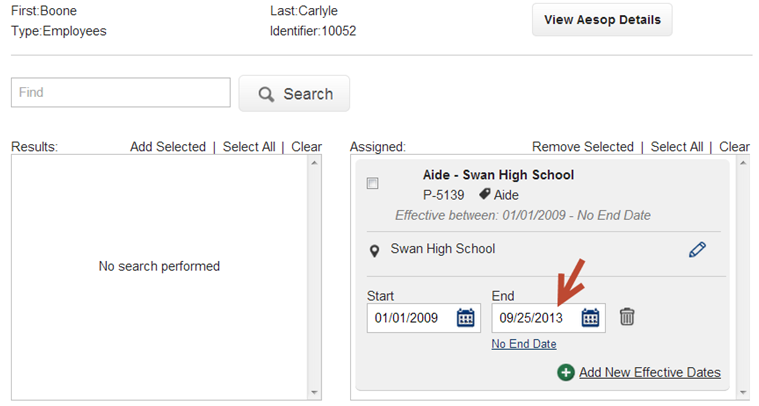
On “Step 3″ of the “Users wizard”, you will see all of the positions to which this user is assigned. Enter the proper “End Date” for the user for each position to which they are assigned. If there is an “End Date” already listed that is inaccurate, change the end date to be accurate.
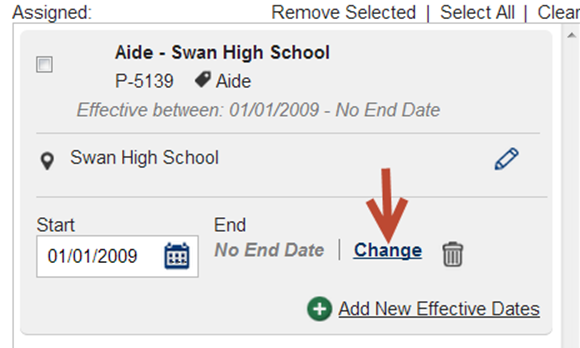
If the “End date” is shown as “No End Date”, click the Change link.
Enter the proper “End date”.
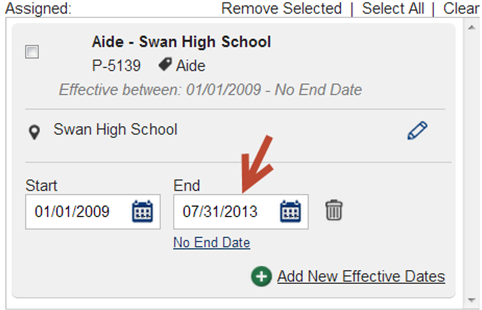
Then click the Finished button.
You have completed all of the steps necessary to deactivate the user in VeriTime.
