The Wage Option is a tool that allows VeriTime to associate a user to a specific pay rate, based on job type, pay range and seniority step. The pay rate type can be hourly, monthly or a fixed stipend.
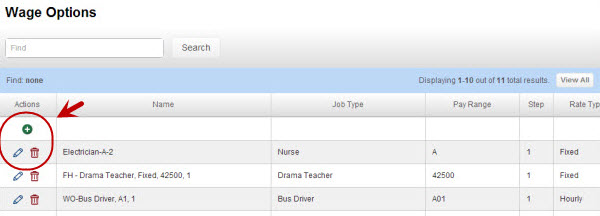
To access the Wage Options page, click the Wage Options button in the Time Tracking & Payroll Rules section of the Configure tab.

To add a new Wage Option click the green “+” icon at the top of the list. To edit an existing one, click the pencil icon. To delete one click the trash can icon.
Step 1 – General
When you click the + icon VeriTime will open a wizard to create the new Wage Option. In step one you will Name the Wage Option. We recommend when naming a Wage Option, use terminology that is easy to understand and reference. Include Job Type, Pay Range and Step as part of the naming convention.
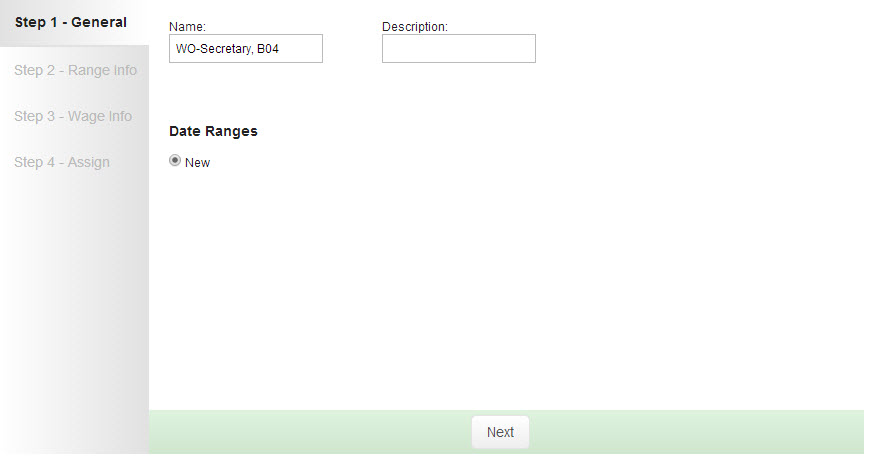
When you are ready to move on to Step 2 click the Next button.
Step 2 – Range Info
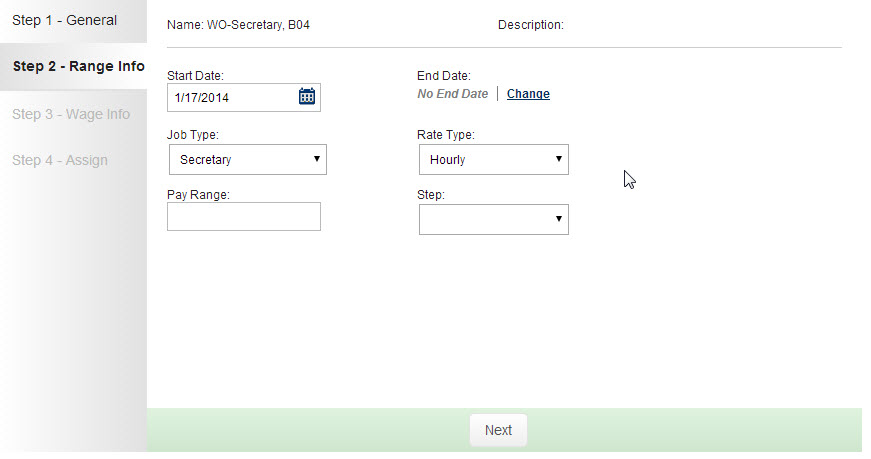
- Date Range
- Job Type – Choose which Job Type this Wage Option will be associated to.
- Rate Type – Choose Fixed, Hourly, or Monthly for this Wage Option’s Rate Type
- Pay Range
- Step – Assign a Seniority Step to this Wage Option if needed
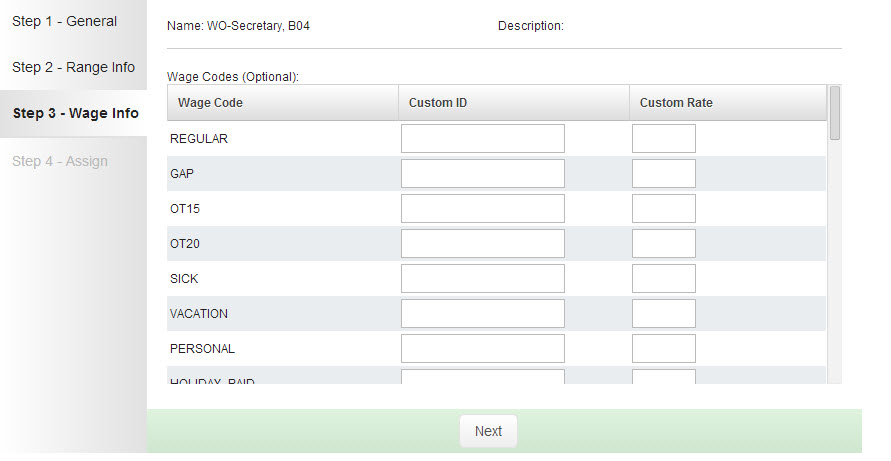
Step 3 – Wage Info
Step 3 of the Wage Options wizard is optional. It allows you to assign custom codes and apply pay rates to different Wage Codes.
Step 4 – Assign
On the last step of the wizard you can assign the Wage Option directly to the the User’s you would like it to apply to.
In the left box you will be able to search for a User by name or identifier. Once you have found the User you can move them to the Assigned column by clicking the green “Assign Selected Users” button.
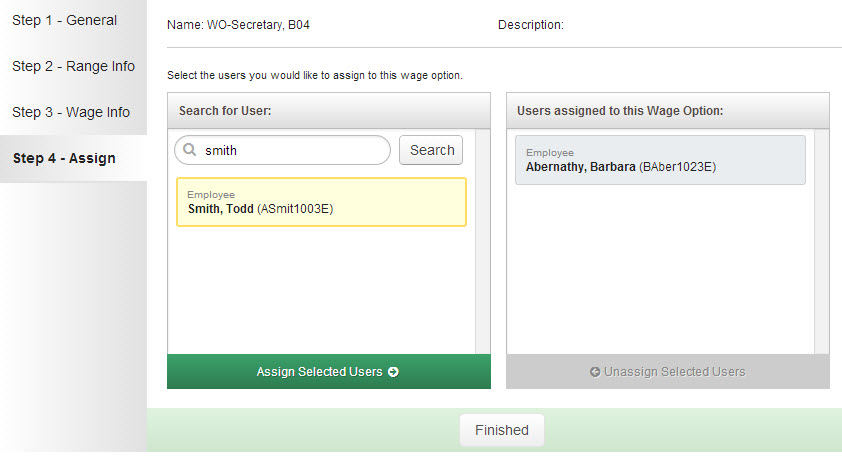
Continue to search for and add more Users as necessary.
Click the Finished button when you are ready to save the Wage Option. You can always come back and assign more Users to this Wage Option when needed.
